How to place an ultrasound-guided IV
Ultrasound-guided peripheral IVs come down to three things: choosing a vein you can actually hit, choosing a catheter long enough to stay in it, and knowing where the needle tip is the whole way in. Here is the procedure step by step.
1. Set up
- Use a high-frequency linear probe. Depth of 2 to 3 cm covers most arm veins.
- Put a tourniquet high on the upper arm. Sit so the screen, the probe and the needle are in one line of sight.
- Hold the probe in your non-dominant hand and rest the edge of that hand on the arm so the probe stays still.
2. Find a vein and prove it is a vein
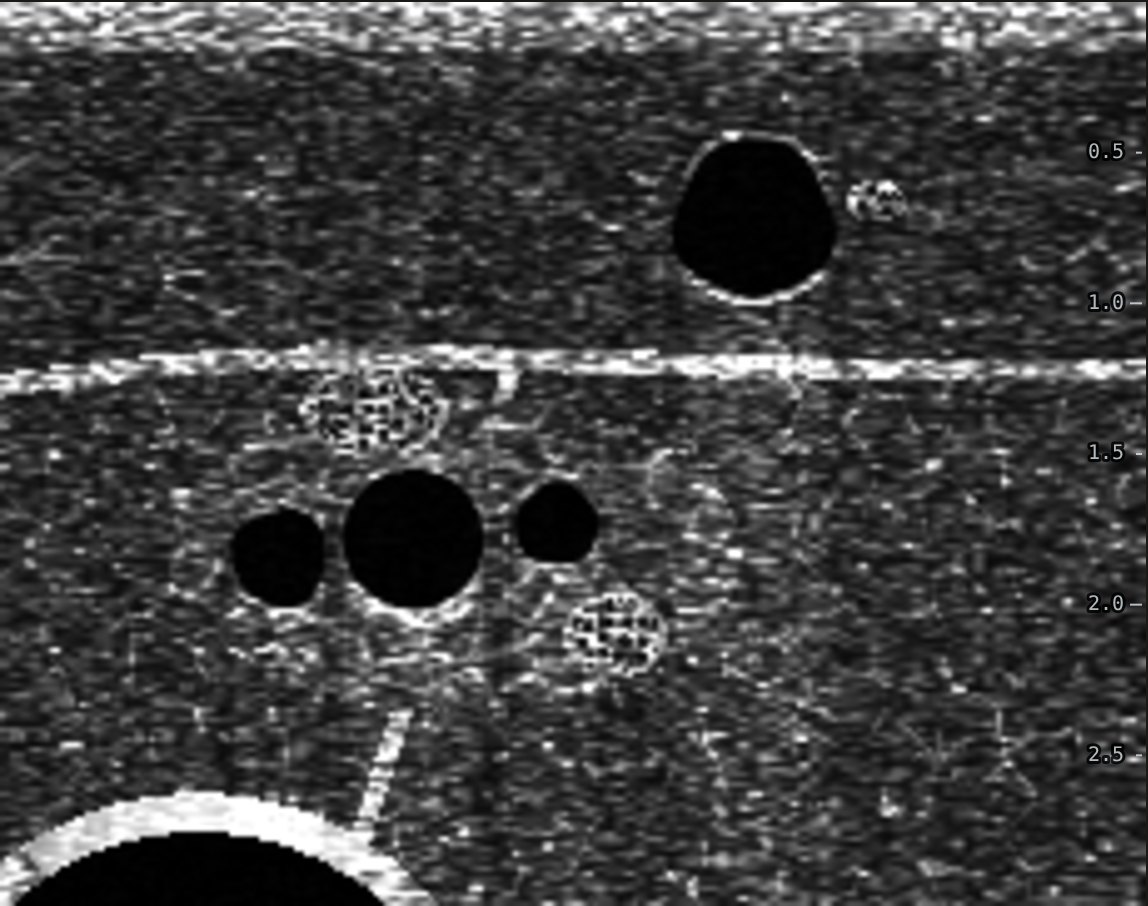
Scan the medial upper arm in short axis, across the arm. The basilic vein sits in the fat above the deep fascia. Deeper, the brachial artery runs between two smaller brachial veins with the median nerve close by.
Press down gently. A vein flattens. An artery stays round and pulses. A vein that will not flatten may hold clot, so move on.
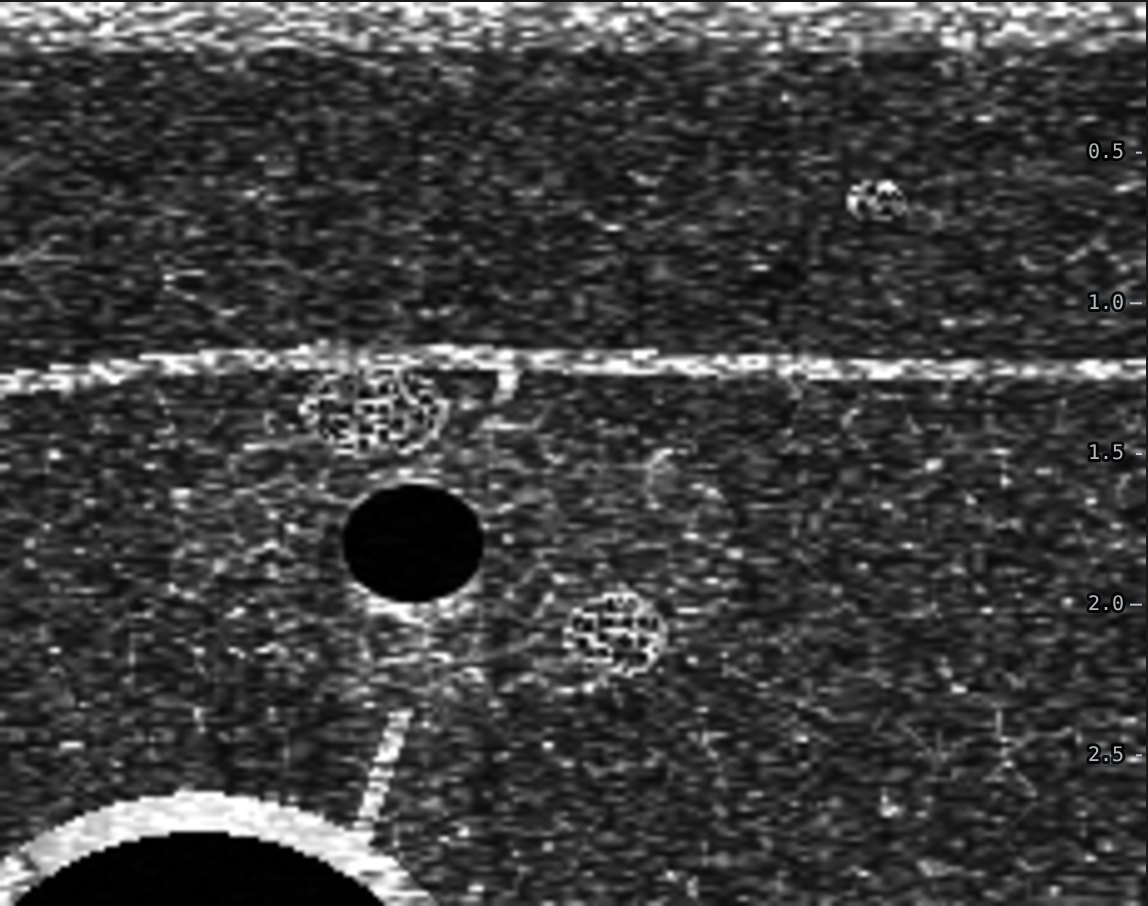
Pick the widest vein you can reach. Each 1 mm of extra diameter raised the odds of success, while depth made no difference until 1.6 cm, beyond which no vein was cannulated (Panebianco 2009). Veins at least 4 mm wide and 0.3 to 1.5 cm deep did best (Witting 2010). More on choosing the vein.
3. Choose the catheter
Part of every catheter is used up in the tissue between skin and vein. With less than 30% of the catheter inside the vein every line failed, and with 65% or more none did (Pandurangadu 2018). So the catheter should be about 3 times the length of the skin-to-vein track. How to work that out at the bedside.
4. Puncture close to the probe
At 45 degrees, a needle that enters the skin a distance d from the probe crosses the beam at depth d. If you enter far from the probe, the needle meets the beam right at the vein and you see nothing on the way. Entering 3 to 5 mm from the probe lets you pick up the tip shallow and follow it down.
5. Follow the tip down
In short axis the needle shows as one bright dot, and the shaft looks exactly like the tip. Slide the probe a millimetre ahead until the dot disappears, then advance the needle until it comes back. Repeat until the tip sits in the middle of the vein. This is dynamic needle tip positioning (Clemmesen 2012). Full explanation.
6. Enter the vein and thread
- Watch the wall dent, then pop. Flashback only tells you blood reached the hub at some point, not where the tip is now.
- Once the tip is centered in the vein, flatten the needle and walk it 2 to 3 mm further along the lumen. The catheter sits 1 to 2 mm behind the needle tip, and it needs to be inside too.
- Advance the catheter off the needle, release the tourniquet, then flush and confirm on screen.
Common mistakes
- Advancing the needle while the probe stays put, so the dot on screen is the shaft and the tip is already deeper.
- Choosing a deep vein with a short catheter.
- Hitting the edge of the vein, so it rolls away.
- Threading as soon as you see flash, before the catheter itself is in the lumen.
Common questions
How deep can a vein be for an ultrasound-guided IV?
Success is similar up to about 1.5 cm deep. In one emergency department study no vein deeper than 1.6 cm was cannulated successfully. Deeper veins also need longer catheters so that at least 65% of the catheter ends up inside the vein.
Is short axis or long axis better for ultrasound IVs?
A meta-analysis of three trials found higher success with short axis (97.7% vs 89.1%). Short axis needs dynamic needle tip positioning to keep track of the tip; long axis shows the whole needle but loses it with small sideways drift.
What catheter length should I use for an ultrasound-guided IV?
Estimate the needle track from skin to vein wall (depth divided by the sine of the needle angle) and choose a catheter about 3 times longer, so at least 65% sits inside the vein. For a vein 1 cm deep at 45 degrees that is about 4 cm, so a 1.88 inch catheter.
How do I tell the vein from the artery on ultrasound?
Press gently. The vein flattens and the artery stays round and pulses. Color Doppler with a little probe tilt shows pulsatile arterial flow and slow steady venous flow.
Practice it on a simulated arm. The Ultrasound IV Trainer lets you scan, compress, pick a catheter and walk the needle tip into the vein in short or long axis, then shows a side view of where the tip and catheter really ended up.
Related guides
References
- Panebianco NL, Fredette JM, Szyld D, et al. What you see (sonographically) is what you get: vein and patient characteristics associated with successful ultrasound-guided peripheral intravenous placement in patients with difficult access. Acad Emerg Med. 2009;16(12):1298-1303.
- Witting MD, Schenkel SM, Lawner BJ, Euerle BD. Effects of vein width and depth on ultrasound-guided peripheral intravenous success rates. J Emerg Med. 2010;39(1):70-75.
- Pandurangadu AV, Tucker J, Brackney AR, Bahl A. Ultrasound-guided intravenous catheter survival impacted by amount of catheter residing in the vein. Emerg Med J. 2018;35(9):550-555.
- Elia F, Ferrari G, Molino P, et al. Standard-length catheters vs long catheters in ultrasound-guided peripheral vein cannulation. Am J Emerg Med. 2012;30(5):712-716.
- Clemmesen L, Knudsen L, Sloth E, Bendtsen T. Dynamic needle tip positioning: ultrasound guidance for peripheral vascular access. A randomized, controlled and blinded study in phantoms performed by ultrasound novices. Ultraschall Med. 2012;33(7):E321-E325.
- Blanco P. Ultrasound-guided peripheral venous cannulation in critically ill patients: a practical guideline. Ultrasound J. 2019;11:27.